By Helen Gullett on Aug 16, 2018 09:00 am
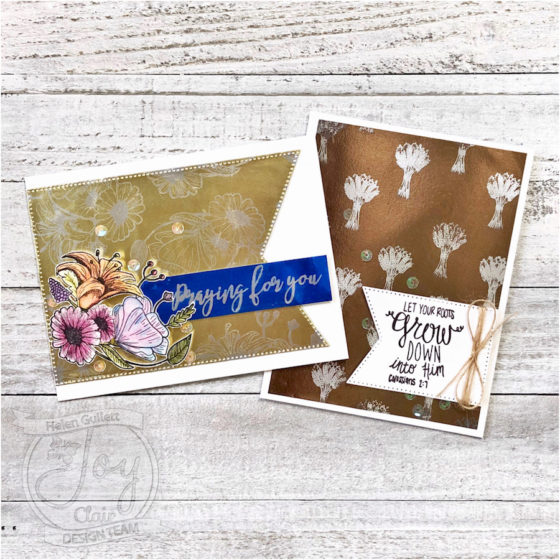
Joy Clair Clear Stamps and Rinea Hello every one… Today, I have 2 cards to share with you. Sometimes… I like to create my own backgrounds for cards and I am going to show you how easy to do this technique.
On both cards today, I created using Joy Clair Stamp Sets, Rinea Foiled Papers, and Rinea Ghost Ink. I like to create my own backgrounds for cards and I am going to show you how easy to do this technique. And stamp set I used on my cards are the 2 new released Color By Faith Bible Journaling Stamp Sets: Heartfelt Sympathy and Blessed Harvest. And… I am sharing full tutorial and steps how to create these cards at Joy Clair Blog today.
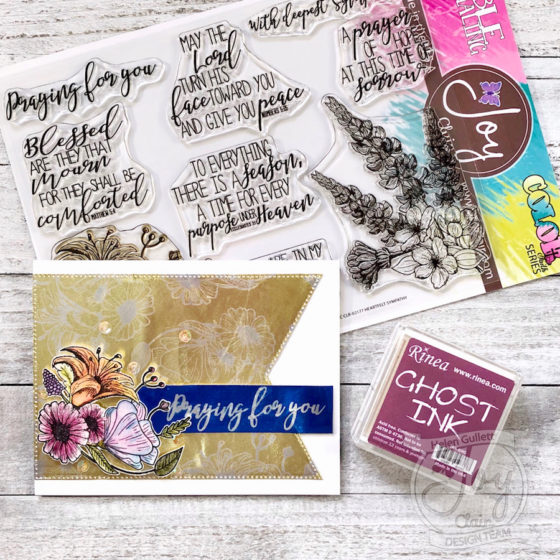
On my first card, I stamped one of the flowers from the Heartfelt Sympathy stamp set on the Gold side of the Sapphire/Gold Glossy Foiled Paper using the Ghost Ink. I let it sit to dry for couple seconds and wiped the ink off the foiled paper using baby wipe. And then next, I cut the foiled paper using one of the Our Daily Bread Designs – Large Banner Dies Set and I added it on a white card using Art Glitter Adhesive Glue.
For the flower, I stamped the same flower image on a watercolor paper with VersaFine Onyx Black Ink Pad using Mini MISTI, dried the ink with craft heater and the I colored it with Leisure Arts Watercolor Pencils and waterbrush. I dried it again after watercoloring and then fussy cut it with micro-tip scissors.
For the sentiment, I did the same step how to create the background using the Blue side of the Sapphire/Gold Glossy Foiled Paper using the Ghost Ink. After that I trimmed the sentiment into a strip.
I added both flower and sentiment strip on the card with 3D fun foam and Art Glitter Adhesive Glue.
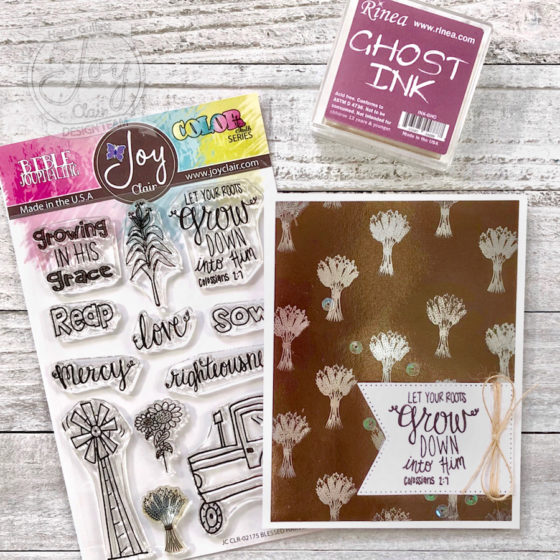
For the second card, I used the Blessed Harvest Stamp Set. Also, I did the same step with the first card to create the background. I used the Earth Tones Foiled Paper. After the stamping and wiping off step, I trimmed the foiled paper to fit slightly smaller than the A2 White Card. I added it on the card with Art Glitter Adhesive Glue.
And the sentiment on this card, I stamped it on a white cardstock with VersaFine Clair Acorn Ink Pad and then I cut it with one of the Our Daily Bread Designs – Large Banner Die Set. I wrapped around some of the Natural Burlap Twine Ribbon on the banner and then added on the card with 3D fun foam and Art Glitter Adhesive Glue.
I hope you all inspired today by these two cards… Thank you for stopping by and have a wonderful day!!!
I link up at:
The post Creating Backgrounds With Clear Stamp, Foiled Papers, and Ghost Ink appeared first on Helen G. Designs.
Read in browser »
 
By Helen Gullett on Aug 15, 2018 12:00 pm
Graciellie Design Hello everyone… We are in the middle of August now. My daughters are going back to school in less than a week!!! I am praying and hoping that both of them will make sweet friendship with their new classmates this year. I am so thankful for what God has provided for them and what He has planned for their future.
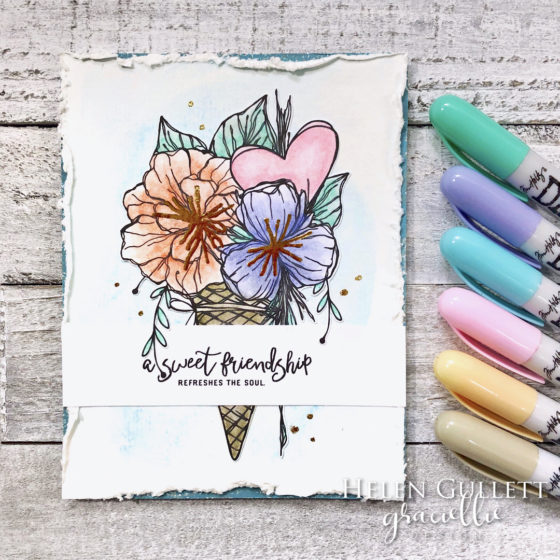
Today, I have a mixed media card with friendship themed. I created this card with digital stamp, distress crayons, water, acrylic paint, and gold foil.
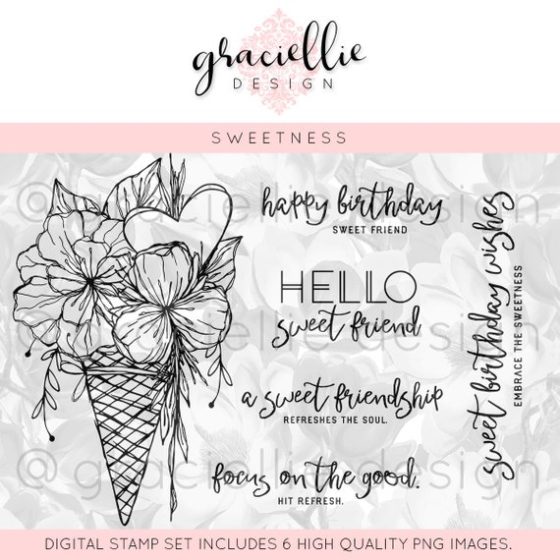
The digital stamp set I used on my card is the Sweetness Digital Stamp Set from Graciellie Design. She has lots of pretty digital stamp at her Etsy store, if you would like to check them out.
I printed the flower image and sentiment on white cardstock in black and white using my inkjet printer. I dried the ink with craft heater before coloring it.
There are 2 layers of background panels I used on this card. First is the dark teal panel that I created using acrylic paint. I added the acrylic pain on gelli plate, spreaded the paint with brayer, added the white cardstock on it, and then gently I press on the cardstock to get the paint transferred to it. I picked it up and set it aside to dry.
The secone panel is watercolored panel. For this watercolored background and coloring I used Distress Crayons Set #5 First I crated the background.They are beautiful pastel color combo.
I scribble the Tumble Glass Distress Crayon on a piece of watercolor paper, then spray it with water. Using my finger, I blended the color in. Then I dried it with craft heater. After that, I trimmed it into 4.25″ x 5.5″, then I distressed the background panel edges with distresser tool.
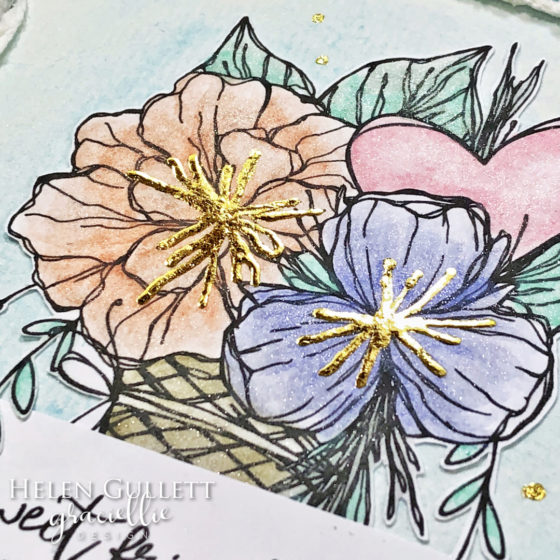
To color the flowers and cone, I simply scribbled the each Distress Crayon (Frayed Burlap, Dried Marigold, Spun Sugar, Shaded Lilac, and Cracked Pistachio) on the image, and then I pull the pigment to fill the image using Wink Of Stella Glitter Brush Pen. I added some more pigment to create more shades on them. I dried the colored image with craft heater and then I fussy cut it with micro-tip scissors.
I added some gold foil in the center of the flower by tracing the lines of stamen in the middle of the flower with glue pen, let dry until they were tacky to touch, and then added the foil transfer paper on them.
I added the first and second background panels on the white card with Art Glitter Adhesive Glue. And then I added the flower image and sentiment strip on the card with the same glue.
I embellished the card with some more gold foiled dots that I created using the glue pen and gold transfer paper.
Card is done. I hope you all enjoy it. Thank you so much for stopping by today! Have wonderful day…
I link up at:
The post Mixed Media Card ~ Sweet Friendship appeared first on Helen G. Designs.
Read in browser »
Recent Articles:
|