How to make gooseneck lampshades (also known as scuttle shades)
I hear many of you asking 'what the heck is a gooseneck lampshade?' I hear you my friends! I too had no clue a few short years ago. But I'm here to tell you now, gooseneck lamps are the bees knees! Not only are they super stylish but they are so useful too - you can move the 'necks' of the lamp in any direction, pointing the light in a useful direction for reading, or highlighting an important artwork, or just creating a grooooovy mood in any corner of the room.
What's more, these lamps are so often left out for council pick ups, if you know what you're looking for, in the right time and place, you might grab a freebie and this tutorial will give you the skills to bring that discarded sad looking street urchin into the 21st century.
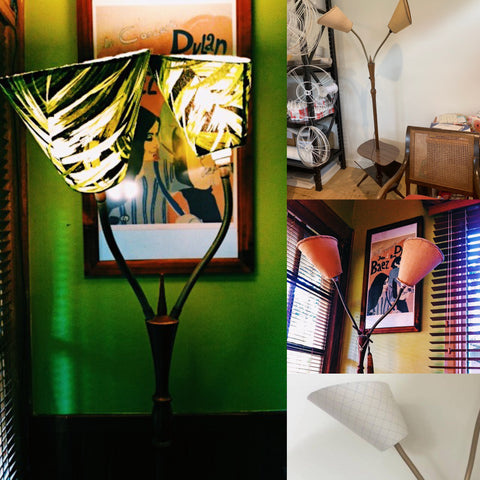
All the lamps pictured above were found in roadside council pick up piles! How cute is the one with the little table and magazine rack at the base?! And with some new shades, like the cute palm shades on the left, its a total transformation!
Ok so let's get started on the tutorial. You can either watch the video above (18 mins 45 sec) - or follow the instructions below.
What you'll need:
Lampshade paper 70cm x 36cm is enough to make two shades
Template
Rings 2 x 20cm plain rings 2 x 3.5" fitted rings
50ml Craft Glue - I use Helmars
and these instructions ;-)
Plus a few things you should already have at home - about 10 pegs, a pencil, a 30cm ruler, an iron and ironing board.
Step 1:
Iron your fabric, spend some time making sure that every little crease is out, use a water spray if necessary (do not use Fabulon, its turns yellow over time)
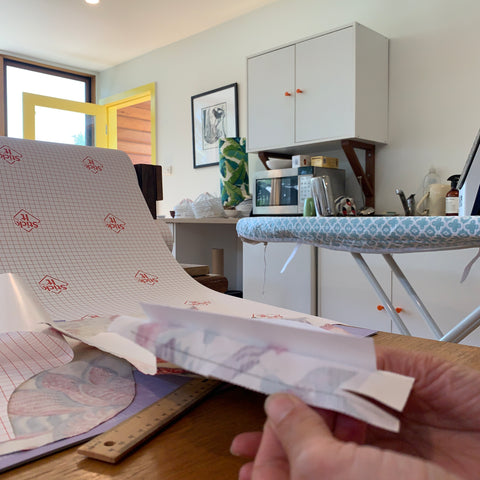
Step 2:
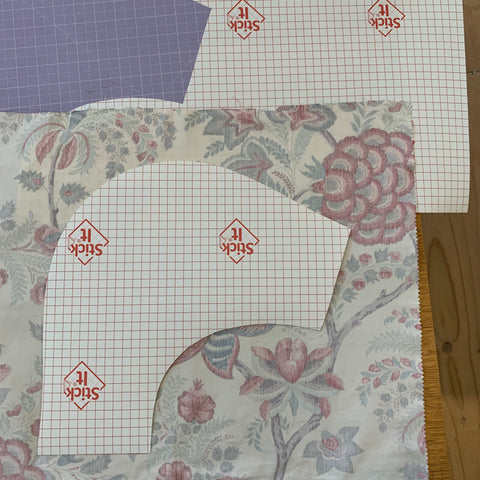
With your fabric right side down, lay your lampshade paper gridlines down (not like in this picture ;-)
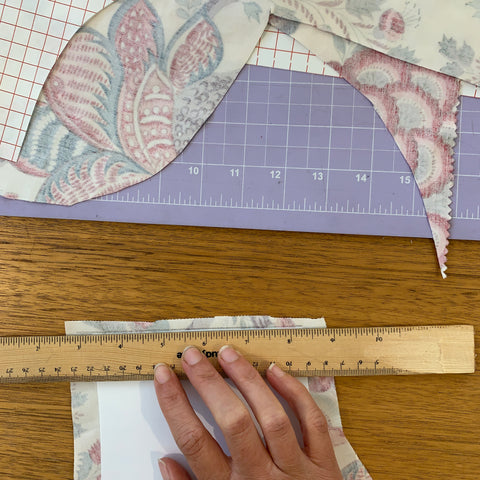
Step 3:
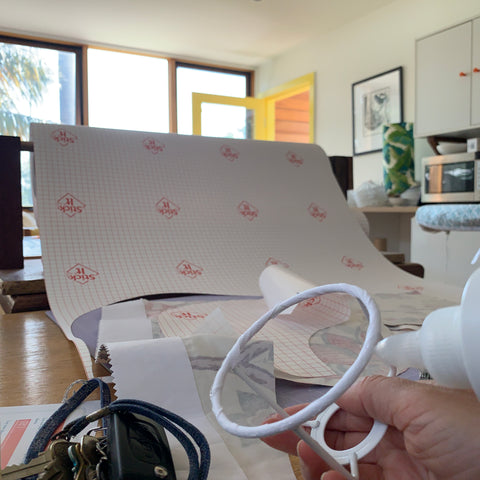
Laminate your lampshade paper to your fabric. Make sure you have 1.5cm of excess fabric all around your lampshade paper.
Step 4:
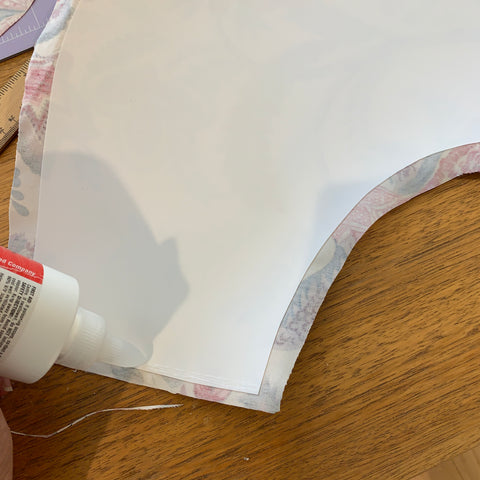
Measure 1.5cm all along your curved edges and cut.
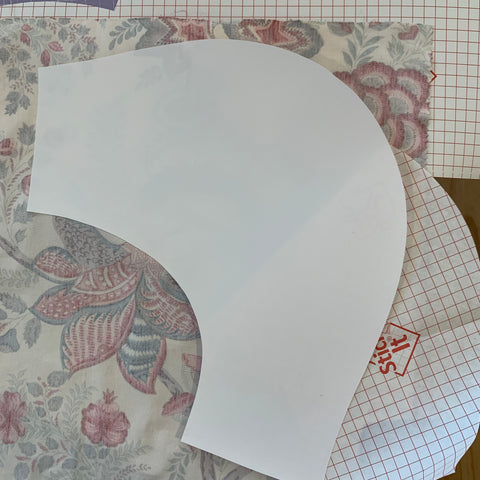
Step 5:
Decide which is your inside seam and which is your outside seam (the straight edges of your template are your seams). For your outside seam, measure 0.5cm of excess fabric, trim and fold over onto your lampshade paper and glue down.
For your inside seam you want the lampshade paper to be longer than your fabric. Using a ruler, draw a line very close to the edge of your lampshade paper
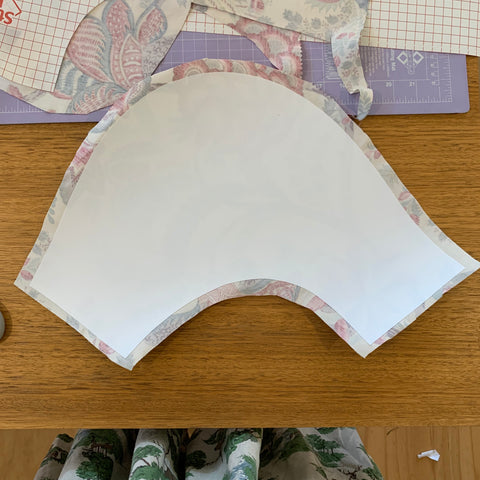
Step 6:
Peel back your fabric from your lampshade paper enough so that you can cut a few millimetres inside the line you have drawn. Cut. Then press the fabric you peeled back onto the lampshade paper again
Your inside seam should look like the top one below, and your outside seam should look like the one underneath.
Step 7:
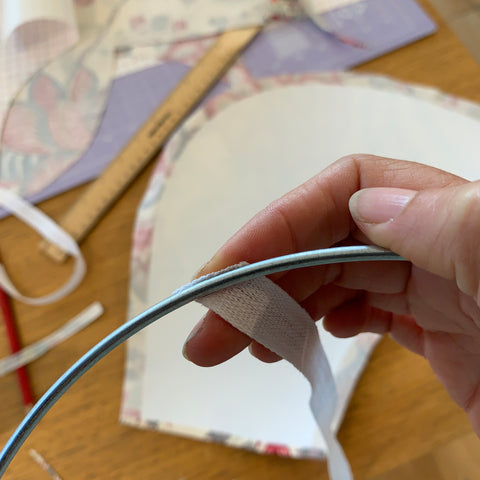
Bind your rings with cotton tape. Pop some glue on the end of your cotton tape and stick it as shown to your larger ring.
Now start binding your rings by tightly wrapping your cotton tape around the ring on a diagonal angle to get maximum coverage of the tape. Do not overlap the tap, just let it fall side by side, nice and firmly. If your tape is very loose, undo it and start over.
Bind both your 20cm ring and fitted ring with cotton tape.
Step 8
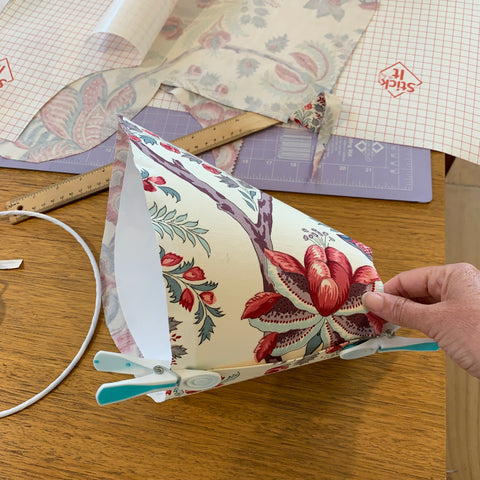
Peg the seams together at each end to give a rough guide of the shape.
Step 9
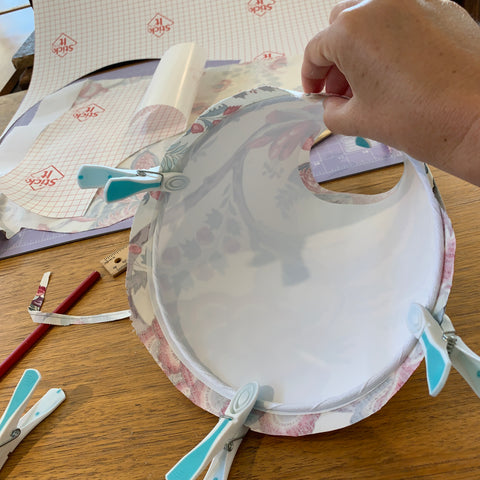
Peg in the larger ring carefully lining up the edge of the lampshade paper with the edge of the ring.
Step 10
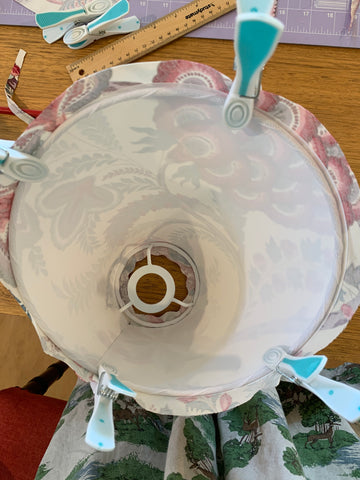
Then I put some glue all around the outside edge of the smaller ring,
Step 11
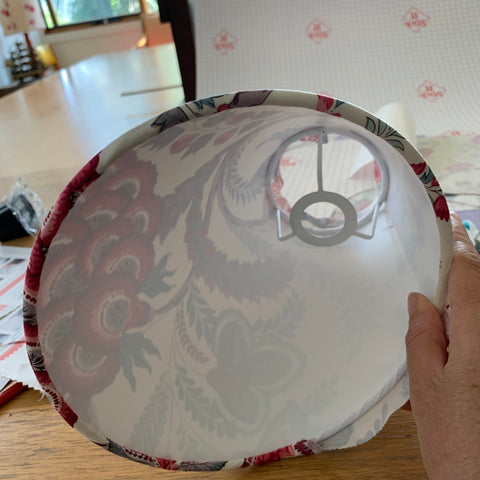
Put the lampshade on the table with the smaller end of the shade sitting flat on the table. Now carefully slide in the smaller ring and push it flat against the table then guide all the edges around ring towards the ring, helping the glue adhere to the lampshade paper. Look at the photos carefully to see what I did here.
Step 12
Time to start glueing
Watch this video to see the glueing process
Here you can see most of the larger ring has been glued and rolled
Step 13
Put glue all around the smaller ring again, and all around the outside edge of the fabric, then put your shade on the table (small ring flat) and work from the top with a small tool like a round ended knife, a small chisel, a kids knife or similar and push and poke the fabric down in between the lampshade paper and the ring like this:
Step 14
Pop a little glue in between your seams and gently press together with thumb and forefinger - making sure that each end lines up with the seam underneath. Once you can feel the glue is staying in place, pop a ruler over the seam and put a peg on each corner of the ruler over the shade to hold it in place (see below). Wait a couple of minutes for the glue to set.
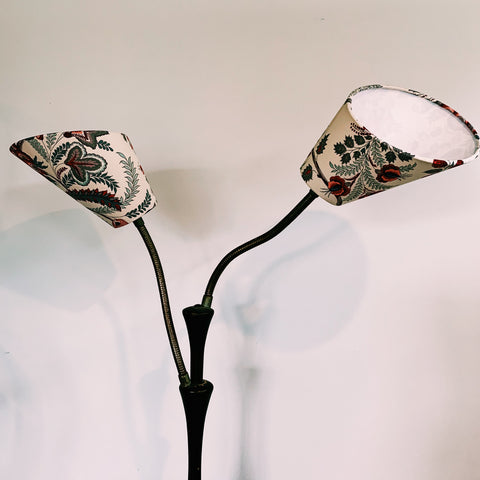
And...voila! You're first lampshade is ready to try on!
Now make your 2nd gooseneck lampshade
....
Voila!
Do you have one of these gorgeous lamp bases in your stash? It just might be time to give it a new life ;-)